This post continues with
the story of the making of a hanging cupboard for Castle Muiderslot. Part 1 and Part 2
considered the carving of the panels, and Part 3 the construction of the back boards and the shelves. This part will show the ironwork for the scapradekijn.

We are woodworkers, not blacksmiths, so all iron parts were made by others for us based on our design. The iron parts needed for the hanging cupboard were a set of hinges and a lock and lockplate. We did have a stock of nails to fix the hinges and lock to the cupboards, so these were not needed from the smith. The Muiderslot choose to have the items made by Klaas Kloosterhuis. A good choice, as he makes excellent medieval replica stuff (e.g. de hinges and lock for my medieval toolbox). However, as he is a commercial blacksmith, he asks normal prices for the items he makes. The budget of the Muiderslot, however, was virtually non-existent, so the lock became only a lock plate instead. We still think this is a missed opportunity - the cupboard would have been more complete and attractive, but the choice was not ours to make.


 Having a cupboard showing some valuables (as was the plan of the Muiderslot) without any locking mechanism in a place with a lot of visitors is not such a good idea. Our solution of having something 'lockable' was to make a latch, that could be lifted either by a key through the keyhole or by finger through the open latticework of the panel. The simple latch was made for free by Rob, the blacksmith of Castle Hernen.
Rob working at the open smithy at the courtyard of Castle Hernen.
Adding the hinges, latch and lockplate to the panels needed some consideration. Each lockplate had an L-shape that would go over the side of the panel. Therefore a bit of the side of the panel had to be removed to accommodate the iron. This was done with the help of a chisel and small ground plane.


The nail for the latch on one panel, and the nail where the latch would rest on on the other panel needed to be added first, as the lockplate would 'hide' the nails afterwards. The nail on which the latch would rest needed careful calibration: a too long nail would mean a loose latch, while a too short one would prevent the latch from closing. Holes for the nails were drilled beforehand; the nails themselves were bend and 'stapled' back into the wood. Note that the panels were coated in linseed oil before the iron parts were added.


Adding the hinges to the panels also needed some extra thought. Hinges need to be positioned at exact the same position to create a functional door. Also a little space is needed between the panels that would be connected to each other by the hinges. First, the hinges were fixed on the door panel with nails, similar to those of the lockplate. Then a small strip of wood (around 1 mm thick) was placed between the panels, which were clamped together. The place for the nails on the second panel was marked and the holes drilled through. The nails for the lower hinge were directly hammered into the bottom shelf. The top shelf, however, was placed higher and the nails appeared just below the top shelf. They had to be hammered back into the panels instead of into the shelf.


The final pieces iron needed for the scapradekijn were two staples that
were needed to be able to hang the cupboard on the wall of the room of
the castle. For this we used two 'antique' ones that we had to de-rust
before we could use them. Two holes were drilled for each staple though
the back boards, and the ends were bended back into the oak of the
(inside of the) backboard.

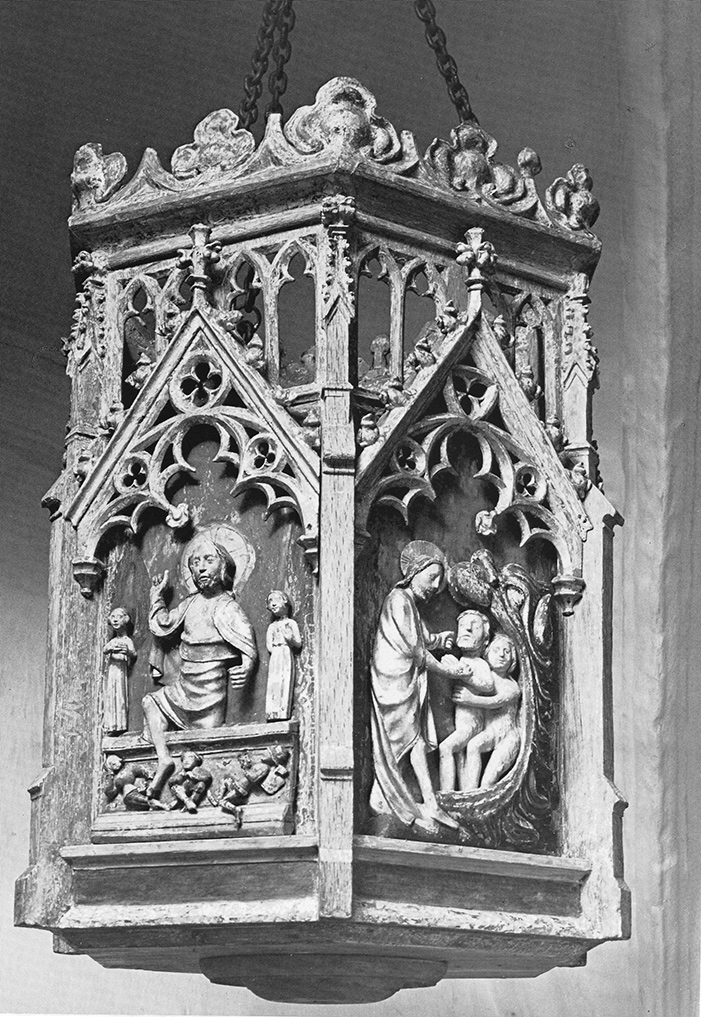
We wanted the same type of hinges as the scapradekijn from Cologne.
We are woodworkers, not blacksmiths, so all iron parts were made by others for us based on our design. The iron parts needed for the hanging cupboard were a set of hinges and a lock and lockplate. We did have a stock of nails to fix the hinges and lock to the cupboards, so these were not needed from the smith. The Muiderslot choose to have the items made by Klaas Kloosterhuis. A good choice, as he makes excellent medieval replica stuff (e.g. de hinges and lock for my medieval toolbox). However, as he is a commercial blacksmith, he asks normal prices for the items he makes. The budget of the Muiderslot, however, was virtually non-existent, so the lock became only a lock plate instead. We still think this is a missed opportunity - the cupboard would have been more complete and attractive, but the choice was not ours to make.
The hinges and lockplates made by Klaas Kloosterhuis.
Klaas did get a free hand in the design of the lockplate(s).
 Having a cupboard showing some valuables (as was the plan of the Muiderslot) without any locking mechanism in a place with a lot of visitors is not such a good idea. Our solution of having something 'lockable' was to make a latch, that could be lifted either by a key through the keyhole or by finger through the open latticework of the panel. The simple latch was made for free by Rob, the blacksmith of Castle Hernen.
Rob working at the open smithy at the courtyard of Castle Hernen.
Adding the hinges, latch and lockplate to the panels needed some consideration. Each lockplate had an L-shape that would go over the side of the panel. Therefore a bit of the side of the panel had to be removed to accommodate the iron. This was done with the help of a chisel and small ground plane.
Left: The space for the lockplate in the side of the panel was created with a small ground plane.Right: The lockplate is now at the same level at the side as the wood. Note that the carving stops where the lockplate begins. Already some holes were drilled for the nails, and the keyhole is opened through the panel.
The nail for the latch on one panel, and the nail where the latch would rest on on the other panel needed to be added first, as the lockplate would 'hide' the nails afterwards. The nail on which the latch would rest needed careful calibration: a too long nail would mean a loose latch, while a too short one would prevent the latch from closing. Holes for the nails were drilled beforehand; the nails themselves were bend and 'stapled' back into the wood. Note that the panels were coated in linseed oil before the iron parts were added.
Left: The nail fixed on which the latch would turn on the front of the panel. Right: A small groove was made for the nail, in order to keep the surface flat for the lockplate.
Left: The front of the lockplates with one of my own keys in the 'lock'. Right: The back of the 'lock' showing the mechanism of the latch and key. Turning the key would lift the latch and open the door.
Adding the hinges to the panels also needed some extra thought. Hinges need to be positioned at exact the same position to create a functional door. Also a little space is needed between the panels that would be connected to each other by the hinges. First, the hinges were fixed on the door panel with nails, similar to those of the lockplate. Then a small strip of wood (around 1 mm thick) was placed between the panels, which were clamped together. The place for the nails on the second panel was marked and the holes drilled through. The nails for the lower hinge were directly hammered into the bottom shelf. The top shelf, however, was placed higher and the nails appeared just below the top shelf. They had to be hammered back into the panels instead of into the shelf.
The panels clamped together.
Both hinges tested. You can see the small strip of wood between the two panels. The middle panel (the door) is smaller.

The nails appear just below the top shelf (the scapradekijn is now standing upside down).
The three front panels with the lockplate and hinges
The two staples on the back of the scapradekijn.